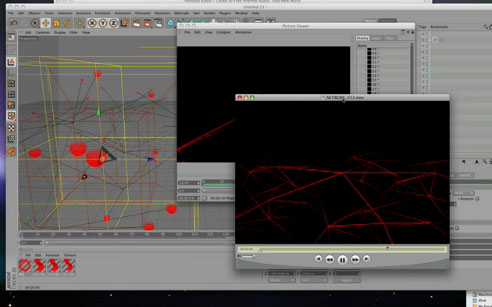
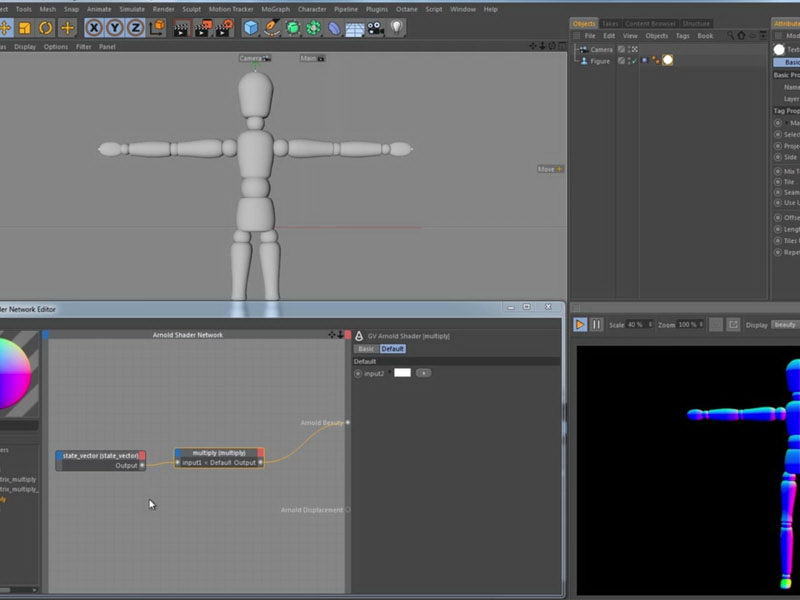
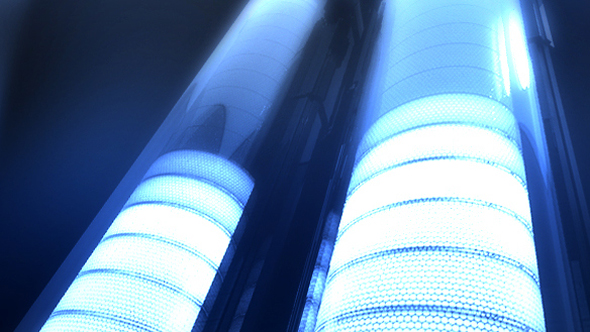
In this tutorial, I will go though the steps in texturing objects in Cinema 4D. I also play with using textures to actually light the scene. I get this specific tutorial request a lot and I decided to just jump in and go though the process without too much set up or goal in mind. With that in mind, let me know what you think.
Texturing objects and lights in Cinema 4D involves creating materials for your objects and adjusting the settings of lights to achieve the desired look. Here’s a step-by-step guide:
Texturing Objects:
1. Create or Import Objects:
- Start by creating 3D objects in Cinema 4D or importing existing models.
2. Open Material Editor:
- Click on the Material Editor icon or press Shift + F2 to open the Material Editor.
3. Create New Material:
- Right-click in the Material Editor and choose “New Material.” Double-click on the material to open its settings.
4. Adjust Color and Basic Settings:
- In the “Color” channel, choose a base color for your material. Adjust the brightness and saturation as needed.
5. Add Texture Maps:
- For more realism, you can add texture maps to different channels (e.g., Color, Diffusion, Specular, etc.).
- Click on the small arrow next to a channel, choose the type of texture (e.g., Image, Noise, etc.), and load the corresponding texture map.
6. Adjust UV Mapping (if needed):
- If using texture maps, ensure your object has proper UV mapping. You can use the UVW mapping options in the Coordinates tab of your material.
7. Use Reflectance Channel (for Reflective Surfaces):
- For reflective surfaces, go to the Reflectance channel. Add a new Beckmann or GGX layer and adjust settings like Specular, Roughness, and Fresnel as needed.
8. Normal Maps (for Surface Detail):
- If you want to add surface detail, use Normal maps. Load your normal map in the “Normal” channel of your material.
9. Apply Material to Object:
- Drag the material from the Material Editor onto your object in the viewport.
Lighting:
1. Create Lights:
- Add lights to your scene using the Light menu. Common types include Omni lights, Spotlights, and Area lights.
2. Adjust Light Intensity:
- Select a light, go to the “Details” tab, and adjust the “Intensity” to control how much light it emits.
3. Set Light Color:
- In the “Color” tab of the light settings, you can adjust the color of the light.
4. Modify Light Falloff:
- Adjust the light falloff settings to control how quickly the light diminishes over distance. This can affect the overall brightness of your scene.
5. Use Shadows:
- Enable shadows for your lights if you want to add depth and realism to your scene. Adjust shadow settings such as type (hard, soft), resolution, and bias.
6. Global Illumination (Optional):
- If you want more realistic lighting, enable Global Illumination (GI) in the Render Settings. Adjust GI settings for accuracy and speed.
7. Ambient Occlusion (Optional):
- Enable Ambient Occlusion (AO) in the Render Settings for additional shading and depth in corners and crevices.
8. Test Render:
- Perform test renders to see how the lighting interacts with your textured objects. Adjust light settings as needed.
By carefully adjusting materials and lighting in Cinema 4D, you can create visually appealing and realistic scenes. Experiment with different settings to achieve the look that best suits your project.


Leave a Reply