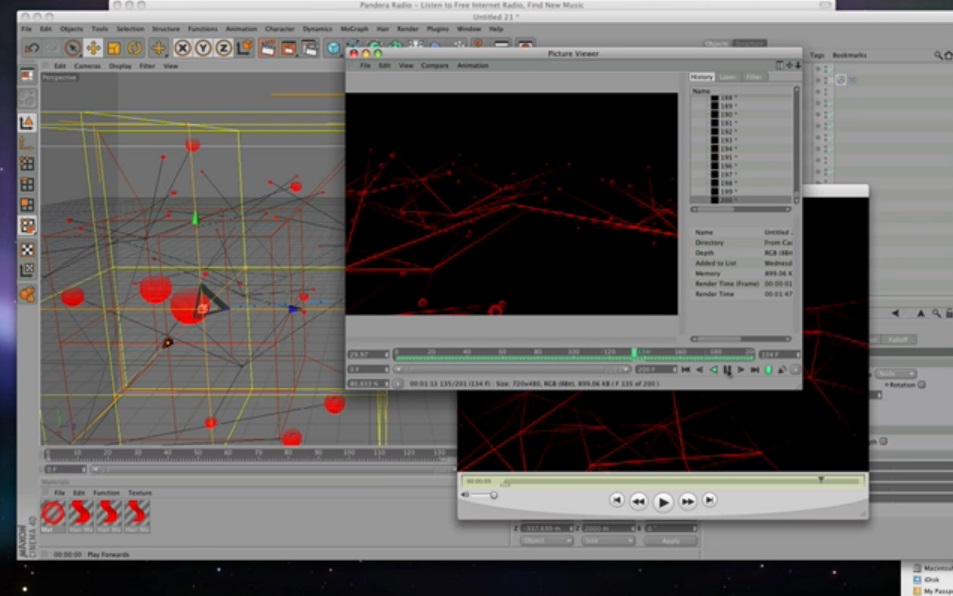
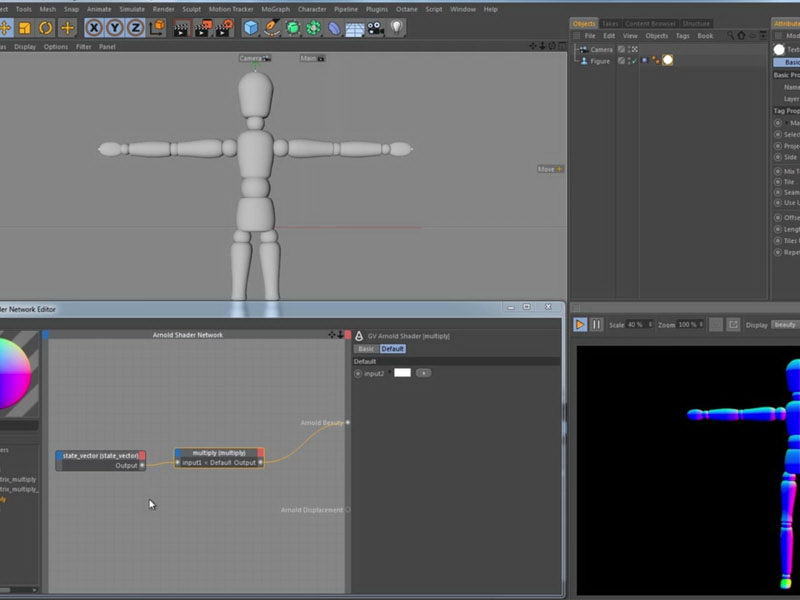
Creating a branching network effect in Cinema 4D involves using various tools and techniques to simulate the growth and structure of a network of branches. Here’s a step-by-step guide:
- Create the Trunk:
- Start by creating a base structure that will represent the trunk of your branching network. This could be a cylinder or another primitive shape.
- Use the Cloner Object:
- Use the Cloner object to duplicate and arrange the base structure along a spline. Create a spline to define the path of your branching network.
- Adjust Cloner Settings:
- Within the Cloner settings, you can experiment with parameters such as count, distribution modes, and offset to control the arrangement of branches along the spline.
- Animate Growth:
- Animate the growth of branches over time by keyframing the parameters of the Cloner object. This can simulate the expansion of the branching network.
- Add Variation with Effectors:
- Use MoGraph Effectors to add variation to the branches. The Random Effector is particularly useful for introducing slight deviations in rotation, scale, and position. This helps create a more organic and natural look.
- Introduce Secondary Branching:
- Duplicate your initial branch setup and create secondary branches. Adjust their parameters to make them smaller or differently shaped. Use additional Cloner objects if needed.
- Use Deformers:
- Experiment with deformers such as Twist, Bend, or Displace to introduce curvature and irregularities to the branches. This adds a more organic feel to the overall structure.
- Create Leaves or Details:
- Depending on the style you’re aiming for, you might want to add leaves or smaller details to the branches. Use additional Cloner objects or particle systems for this purpose.
- Add Lighting and Materials:
- Set up lighting to enhance the visibility and aesthetics of your branching network. Apply materials to your branches, considering factors like reflectivity and transparency to achieve the desired look.
- Animate and Render:
- Fine-tune your animation by adjusting timings, speeds, and any other parameters. Set up your camera angles and render the animation using the desired settings.
- Post-Processing:
- After rendering, you can perform post-processing in software like Adobe After Effects or Photoshop. This may include color correction, adding depth of field, or applying additional effects to enhance the visual appeal.
Remember to experiment with different settings and techniques to achieve the specific look you want for your branching network effect. Cinema 4D provides a wide range of tools and options, so feel free to explore and customize based on your creative vision.


Leave a Reply